
Creating custom trading cards is a beloved pastime for enthusiasts, game developers, and creative hobbyists alike. Whether you're designing a unique collectible for a personal project, prototyping a new game, or just want to add a personalized touch to a gift, the right tools make all the difference. While professional design software offers extensive capabilities, many find that a Trading Card Template Word provides a surprisingly accessible and effective solution. Microsoft Word, often overlooked for graphic design tasks, possesses a robust set of features that, when leveraged correctly, can produce high-quality, print-ready trading cards without the steep learning curve or cost associated with specialized programs.
The beauty of utilizing a Trading Card Template Word lies in its familiarity and widespread availability. Most computers come pre-installed with Word, or users already have a subscription, eliminating the need to download or purchase additional software. This makes it an incredibly practical choice for individuals and small teams looking to quickly bring their card ideas to life. From simple character cards to complex game mechanics, Word's text, image, and shape manipulation tools offer a flexible environment for design.

Designing trading cards in Word isn't just about convenience; it's also about empowering creativity. With a bit of know-how, you can achieve professional-looking results that rival those created in more complex programs. The key is to understand Word's design capabilities and how to organize your elements effectively within the document. This approach democratizes card creation, opening up the world of custom collectibles to a broader audience without requiring extensive graphic design expertise.

This guide will delve into the intricacies of crafting your own trading cards using Microsoft Word. We'll explore everything from setting up your document to incorporating various design elements and ensuring your cards are print-ready. By the end, you'll have the knowledge and tools to design stunning, personalized trading cards using a program you likely already know and use every day.

Why Choose a Trading Card Template Word?
The decision to use Microsoft Word for trading card design might seem unconventional at first glance. After all, programs like Adobe Photoshop, Illustrator, or even Canva are often lauded as the go-to tools for graphic design. However, there are compelling reasons why a Trading Card Template Word stands out as an excellent option, particularly for certain users and projects. Understanding these advantages can help you decide if Word is the right tool for your creative endeavors.

Accessibility and Cost-Effectiveness
One of the most significant benefits of using Word is its unparalleled accessibility. Microsoft Word is ubiquitous; it's a staple in most homes, schools, and offices worldwide. This means that for many, there's no need to purchase new software or subscribe to expensive services. The cost-effectiveness is a huge draw for hobbyists, independent game developers, or those working on personal projects with limited budgets. You're leveraging a tool you likely already own and are familiar with, reducing overhead and the learning curve associated with new software.
Familiar Interface and Ease of Use
Word's interface is designed for word processing, but its underlying design tools are surprisingly robust and intuitive. Users who are comfortable creating documents, inserting images, and formatting text in Word will find the transition to designing trading cards relatively smooth. The drag-and-drop functionality, text box creation, and shape tools are straightforward to use, allowing for rapid prototyping and iteration. This ease of use means you can focus more on the creative aspects of your card design rather than struggling with complex software functionalities.
Flexibility and Customization
While it may not offer the intricate layering systems of professional graphic design software, Word provides ample flexibility for customizing your trading cards. You can easily adjust dimensions, insert various graphics, play with fonts and colors, and arrange elements precisely on the page. For text-heavy cards, Word's advanced text formatting options are a clear advantage, allowing for detailed descriptions, stats, and lore. With a well-structured Trading Card Template Word, you can achieve a high degree of personalization.

Essential Elements of a Trading Card
Before diving into the design process, it's crucial to understand the fundamental components that make up a typical trading card. Each element serves a specific purpose, contributing to the card's aesthetics, functionality, and collectible appeal. Knowing these elements will guide you in creating a comprehensive and effective Trading Card Template Word.

Card Dimensions and Layout
Standard trading cards typically adhere to specific dimensions, often around 2.5 x 3.5 inches (63.5 x 88.9 mm). While Word allows for custom sizing, sticking to these common dimensions ensures compatibility with card sleeves and binders. The layout involves dividing the card into distinct zones for artwork, text, and other indicators.
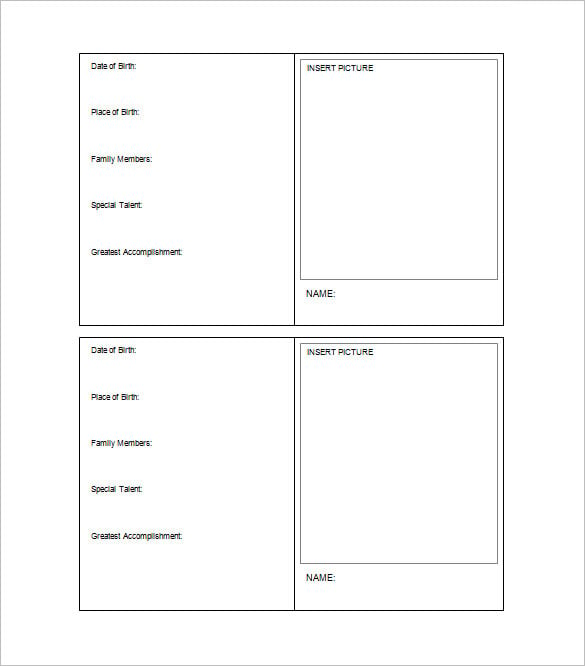
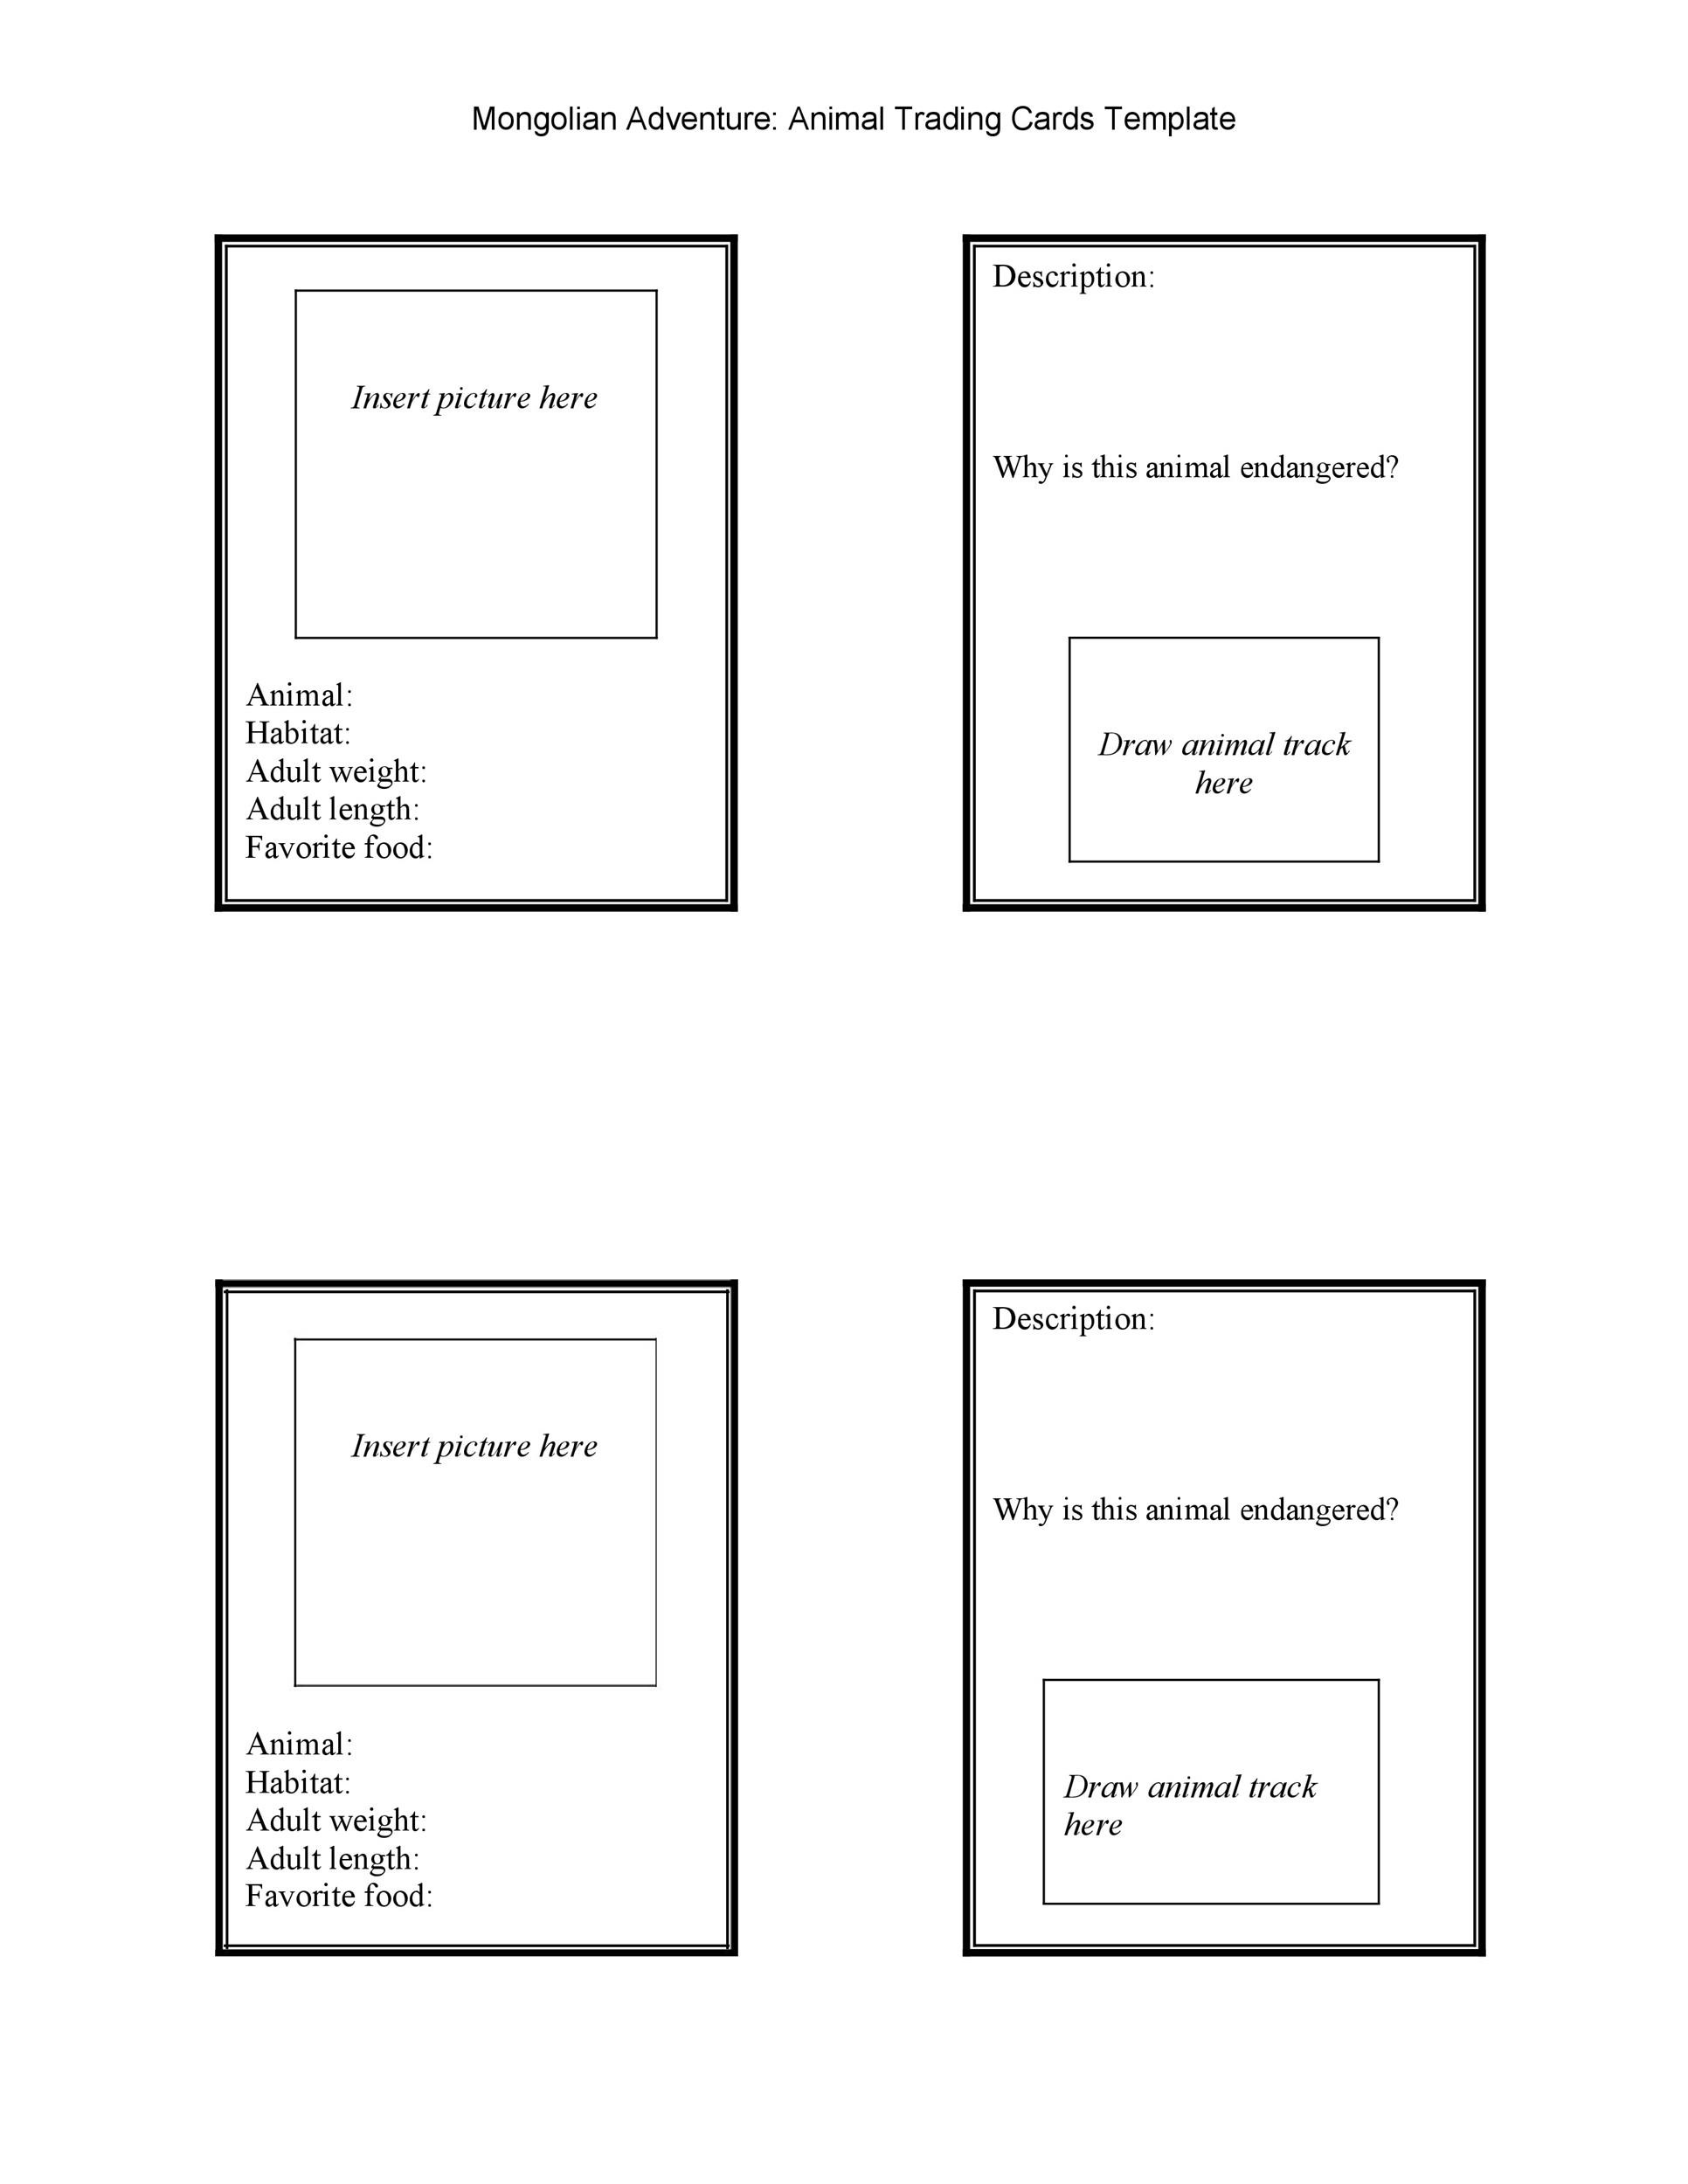
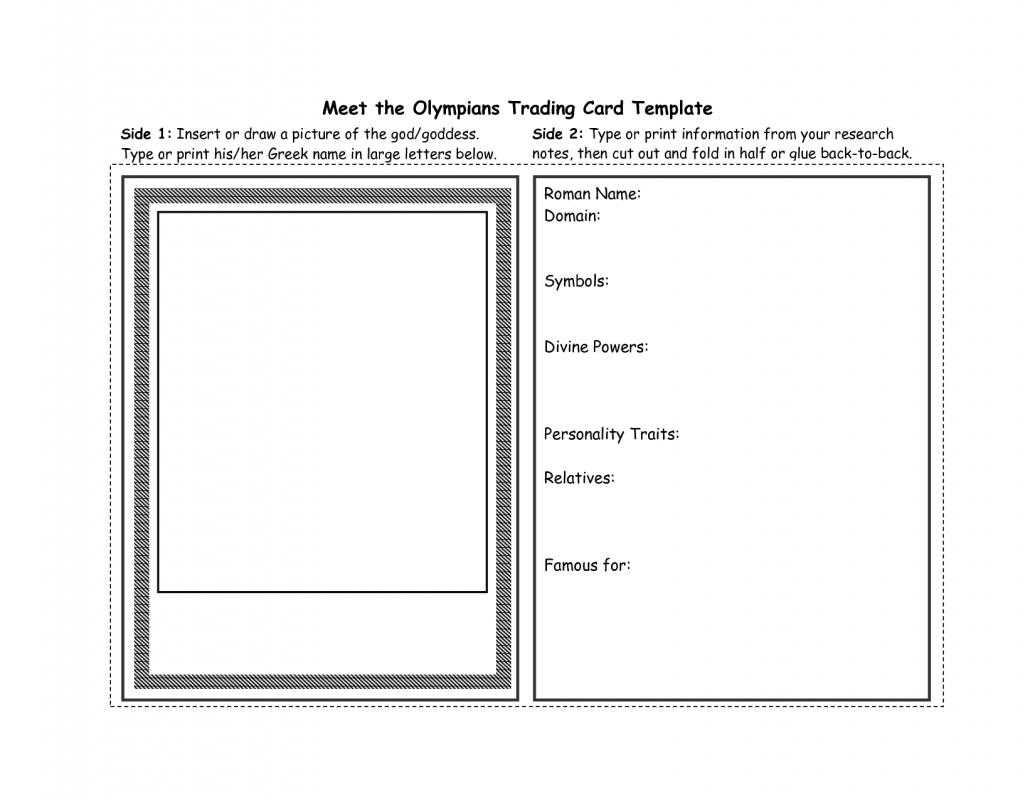
Artwork/Image Area
This is often the most visually striking part of a trading card. A prominent area for an illustration, photograph, or graphic is essential. In Word, you'll designate a clear space for your image, ensuring it's of high resolution and properly scaled.
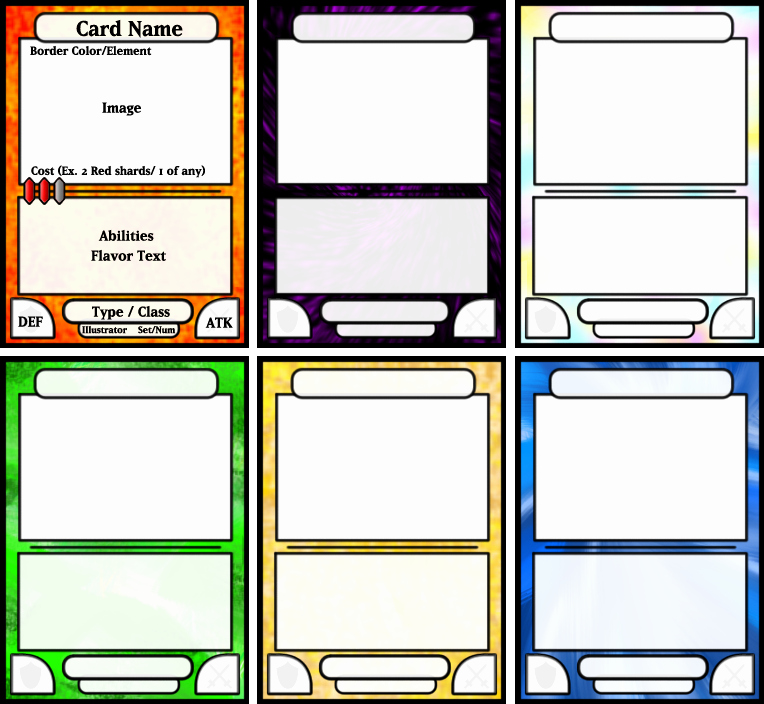
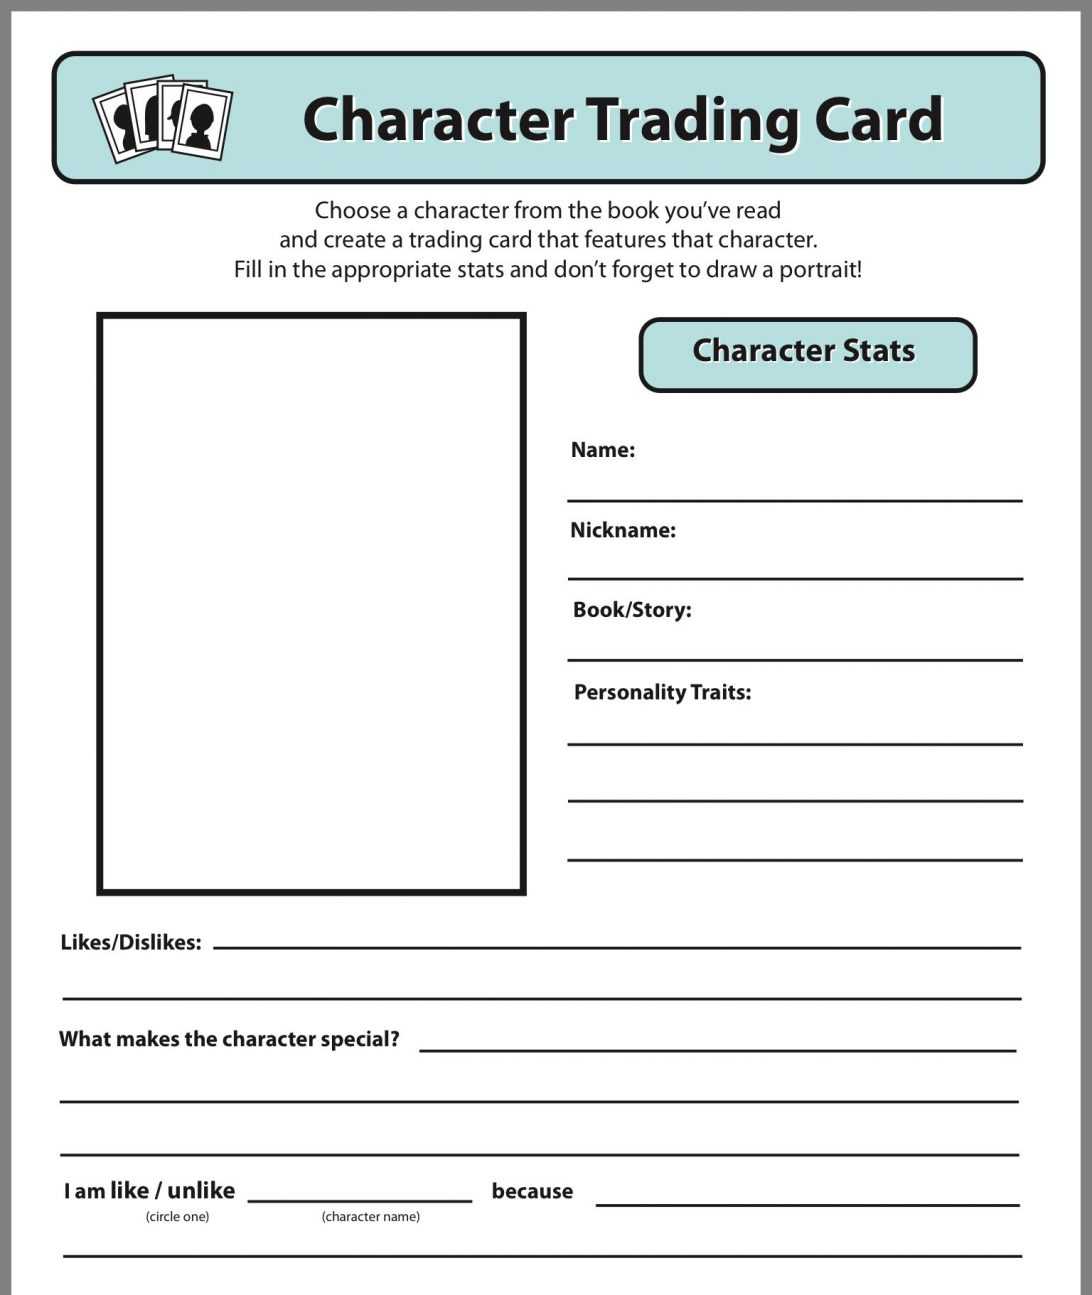
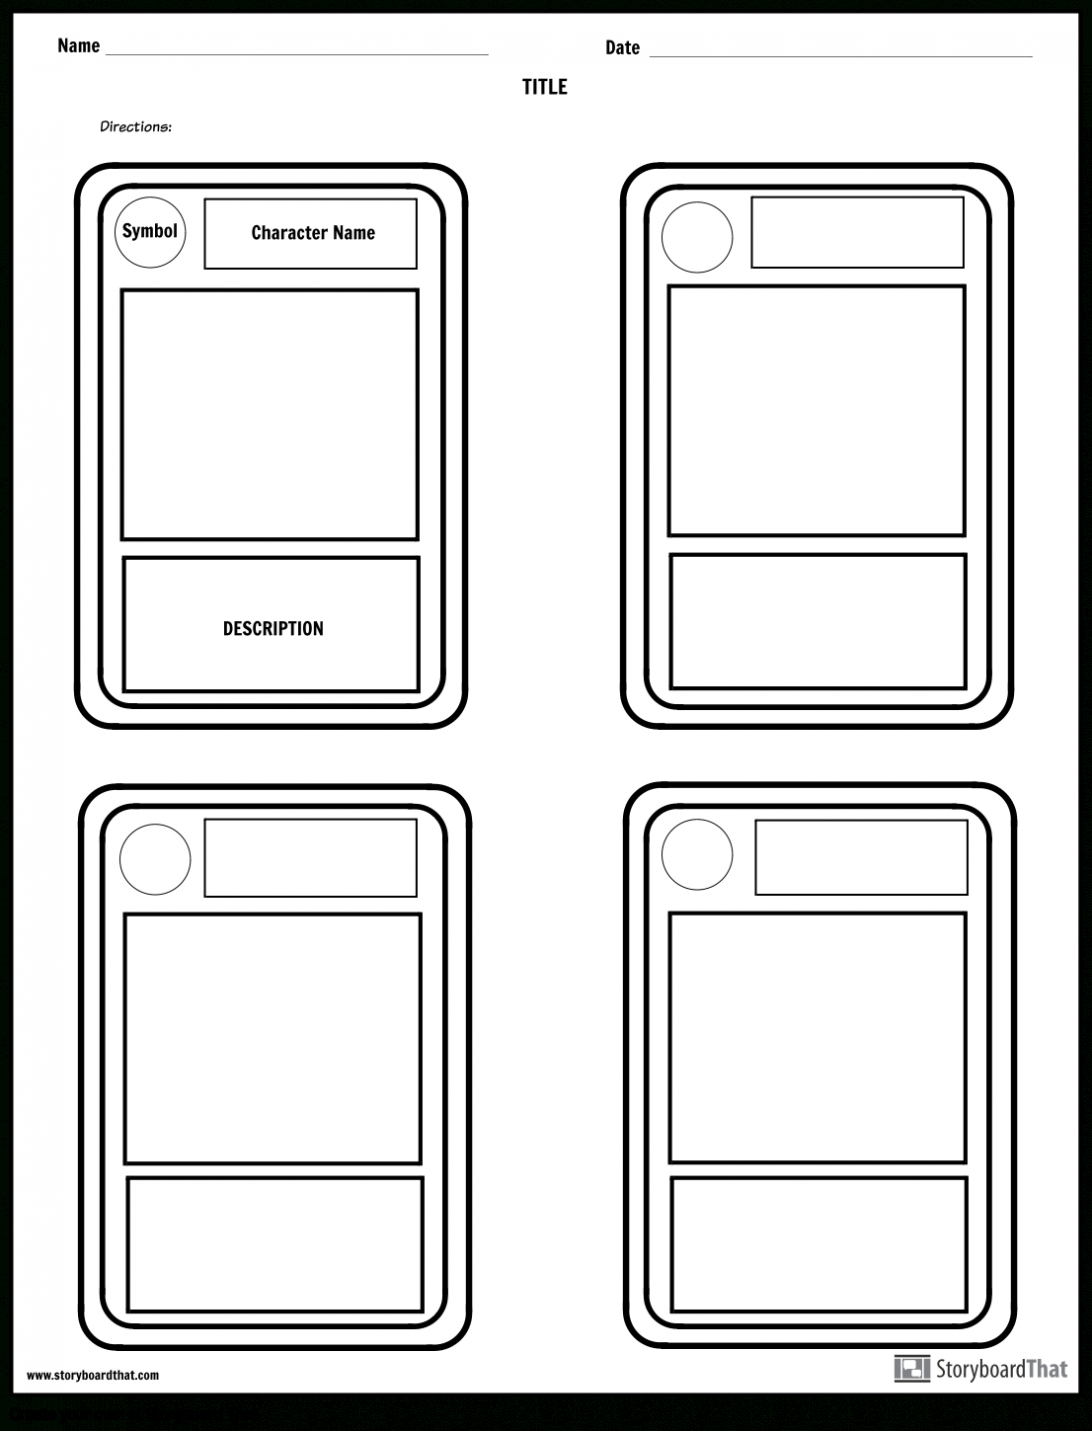
Card Title/Name
Every card needs a clear and distinct title. This is typically placed at the top or bottom of the card and should be easily readable. Font choice and size are critical here to make it stand out.
Text Boxes for Descriptions and Stats
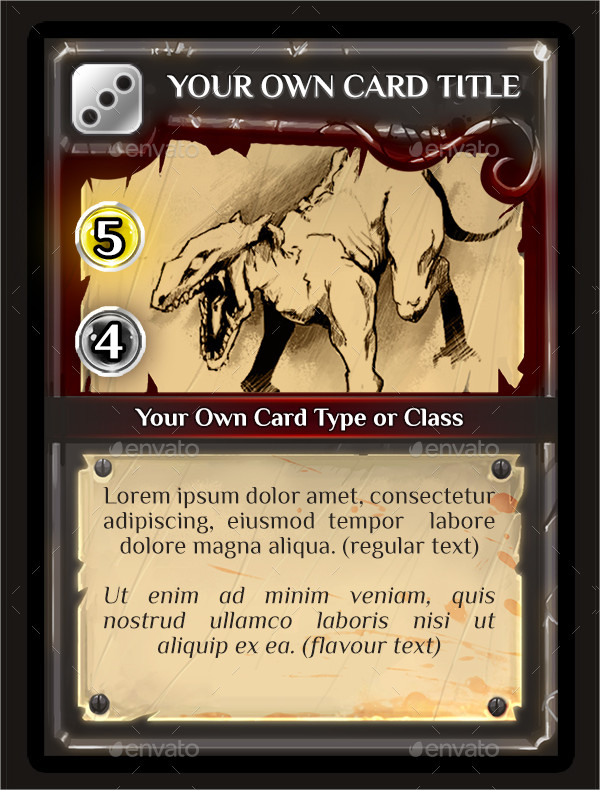
Depending on the card type (e.g., game cards, collectible art cards), you'll need areas for various text elements:
* Flavor Text/Lore: Short narrative descriptions that add depth to the card.
* Game Text/Abilities: Rules or effects if the card is part of a game.
* Stats: Numerical values like attack, defense, health, cost, or power.
* Rarity/Set Symbol: An indicator of how rare the card is and which collection it belongs to.
* Copyright/Artist Credit: Important for attribution and legal purposes, usually found at the bottom.
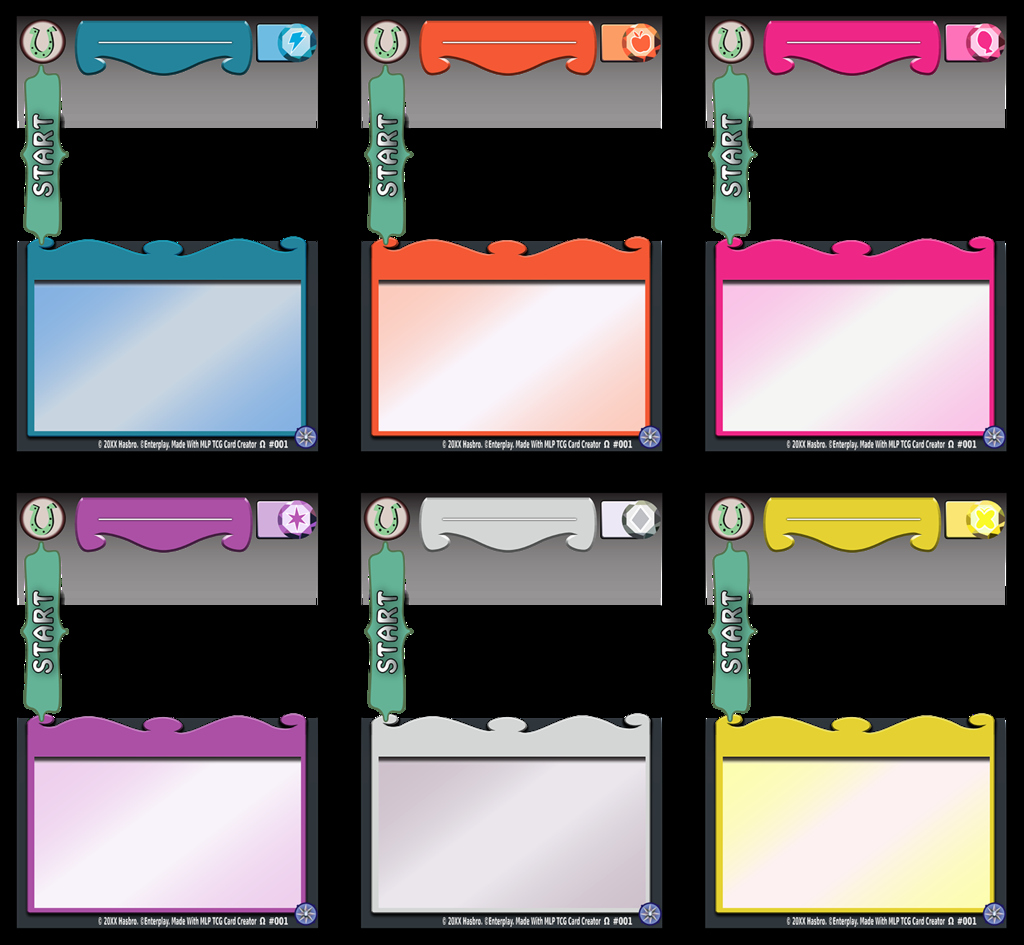
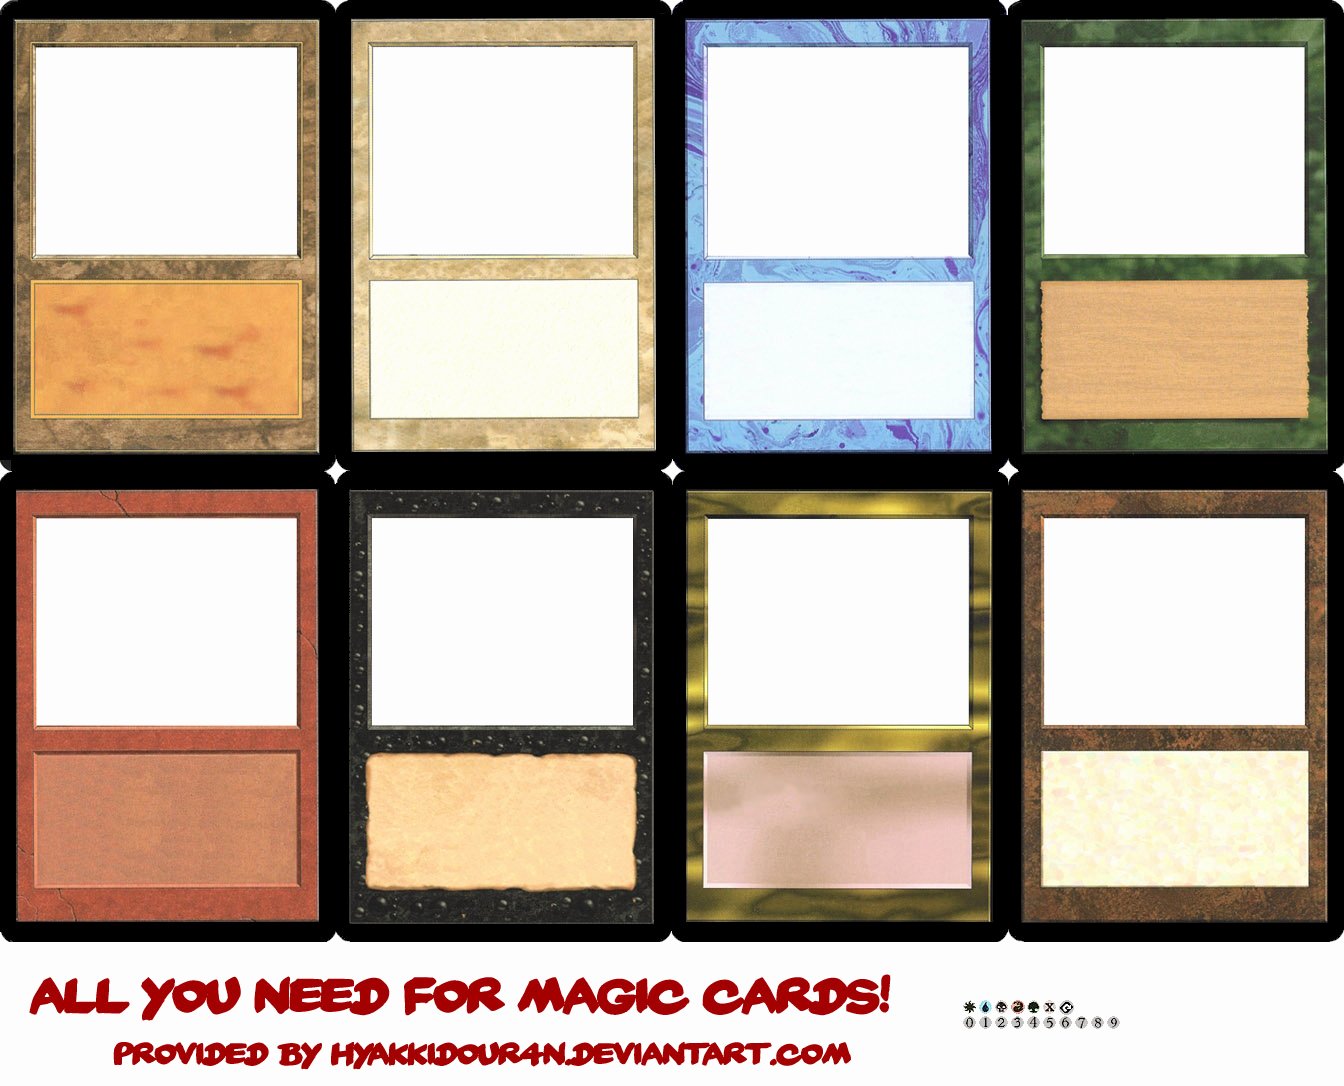
Card Border and Background
A border helps define the card's edge and can contribute to its overall aesthetic. The background provides context and can vary in color, texture, or pattern to suit the card's theme. These elements can be easily managed within your Trading Card Template Word using Word's shape and fill options.
Step-by-Step Guide to Creating a Trading Card Template Word
Now, let's get into the practical application of building your own Trading Card Template Word. This section will walk you through the process, from setting up your document to incorporating various design elements.

1. Document Setup and Page Layout
The first crucial step is to configure your Word document to the correct dimensions and orientation.
* Open a New Document: Start with a blank Word document.
* Set Page Size: Go to Layout > Size > More Paper Sizes.... Here, you can input your custom dimensions. For a standard trading card, set the width to 2.5 inches and height to 3.5 inches.
* Set Margins: Reduce margins to a minimum (e.g., 0.1-0.2 inches or Custom Margins > All 0) to maximize your design area. You'll manage a "safe zone" manually.
* Orientation: Choose Portrait or Landscape based on your card design preference. Portrait is standard for most trading cards.
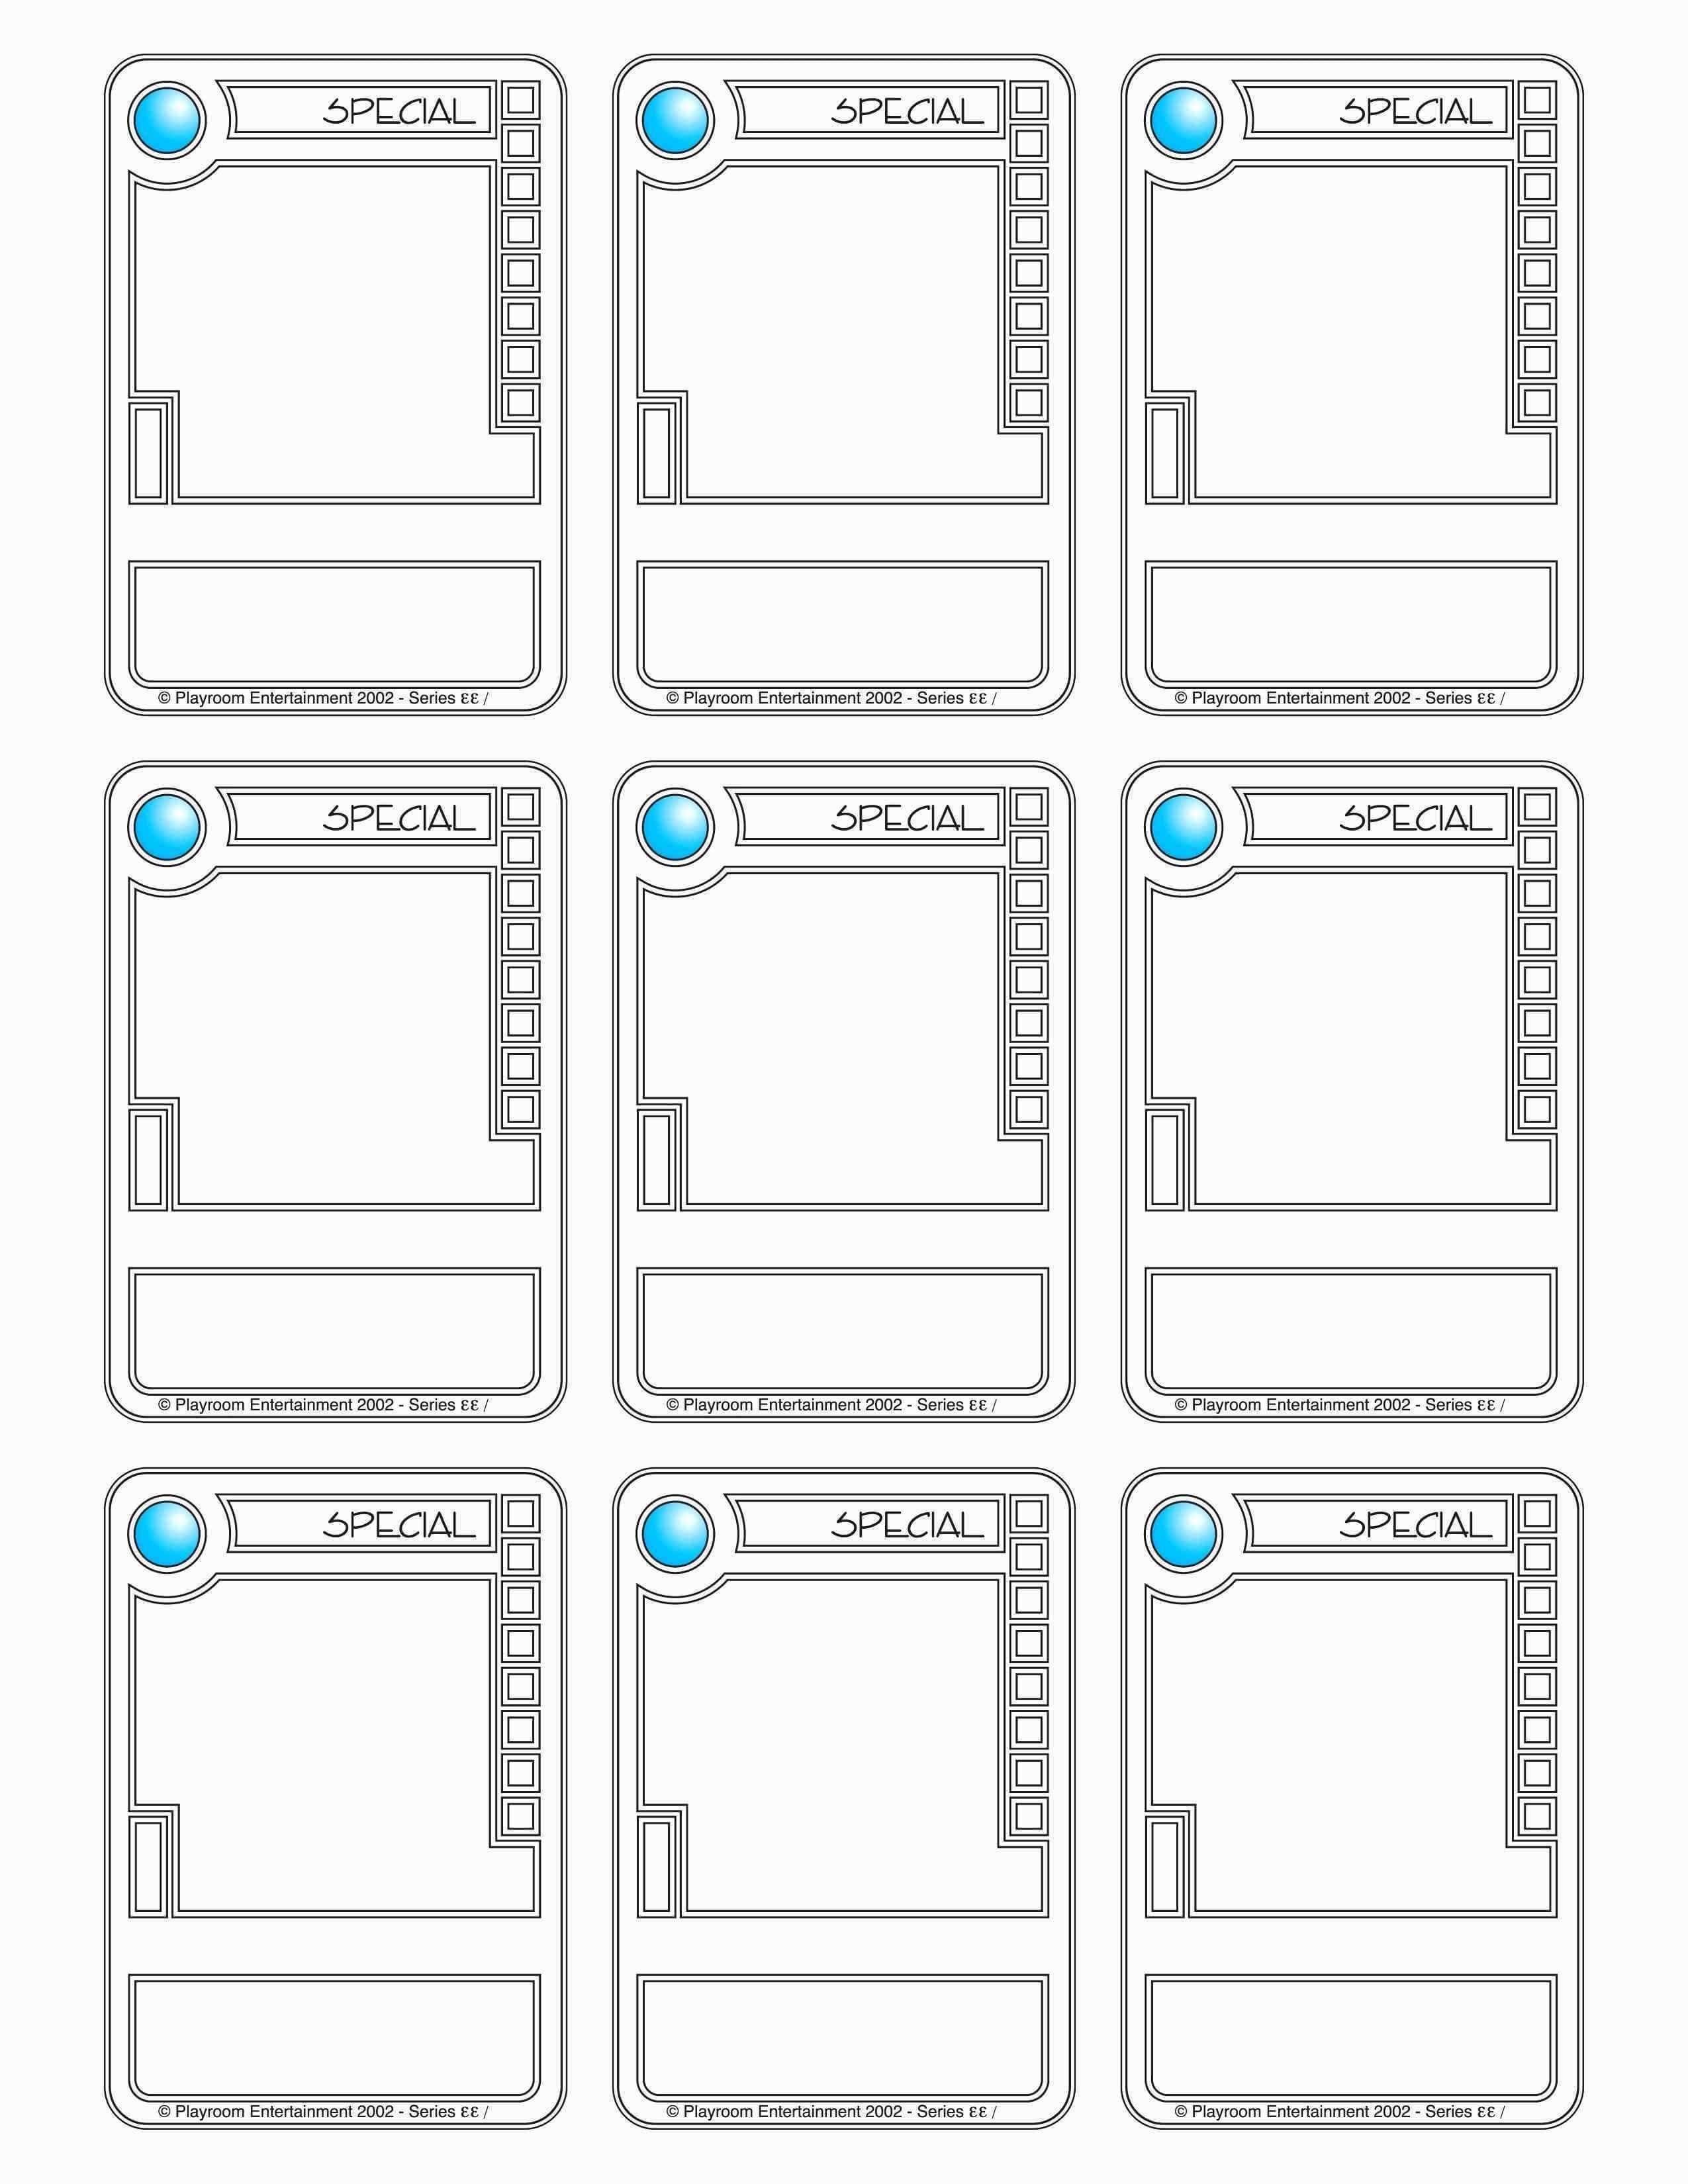
* Create Multiple Pages: If you plan to print multiple cards on one sheet, you might set up a larger page size (e.g., Letter or A4) and then arrange multiple smaller cards within it. For designing individual card templates, stick to the card's exact dimensions.
2. Designing the Basic Card Structure
Once your page is sized correctly, you can start building the core layout.
* Insert a Shape for the Card Outline: Go to Insert > Shapes and choose a rectangle. Draw it to perfectly fit your page (the 2.5x3.5-inch area). This will serve as your card's background.
* Format the Shape: Right-click the shape, choose Format Shape. You can set a solid fill color, a gradient, or even a picture fill for the background. Set the Line to No line initially, or add a subtle border.
* Create a "Safe Zone" Border (Optional but Recommended): Insert another rectangle slightly smaller than your main card shape (e.g., 2.3 x 3.3 inches). Center it using Shape Format > Align > Align Center and Align Middle. Change its fill to No Fill and set its Line to a light, non-printing color (like a very light gray or cyan) with a thin dash. This acts as a visual guide for content that shouldn't be too close to the edge. Delete this helper line before final printing.
3. Adding Image Placeholders
The artwork is central to most trading cards.
* Insert a Picture Placeholder: Go to Insert > Shapes and choose a rectangle. Draw the desired size and position for your artwork.
* Format as Picture Frame: Right-click the shape, Format Shape > Fill > Picture or texture fill. Choose File... to insert a placeholder image. This allows you to easily replace it later. Alternatively, leave it as a solid color rectangle and simply Insert > Picture directly into that space, then Send to Back or adjust Wrap Text settings as needed. Square or Tight text wrapping for images often works well.
4. Incorporating Text Fields
This is where Word's strengths truly shine.
* Insert Text Boxes: Go to Insert > Text Box > Draw Text Box. Draw boxes for your card title, stats, lore, and any other text elements.
* Format Text Boxes: Right-click each text box, Format Shape.
* Set Fill to No Fill and Line to No Line for a clean look, or add subtle borders/backgrounds as part of your design.
* Adjust text box margins (Text Box Options > Internal Margin) to prevent text from touching the edges.
* Format Text: Select the text within each box. Use Word's standard text formatting tools (Home tab) to choose fonts, sizes, colors, bolding, italics, alignment, and line spacing. Use a variety of fonts to differentiate between the title, stats, and body text.
* Placeholders: Fill the text boxes with placeholder text (e.g., "[CARD NAME]", "[ATTACK]", "[FLAVOR TEXT]") so you know where content goes.
5. Adding Icons and Symbols
For game cards, icons are crucial.
* Insert Shapes: Use Insert > Shapes to create simple icons (circles, triangles, stars) for mana costs, attack types, or rarity symbols.
* Insert Symbols/Special Characters: Go to Insert > Symbol > More Symbols to find various glyphs that can serve as simple icons.
* Insert Small Images: If you have custom icon files (PNG with transparent backgrounds are best), Insert > Pictures > This Device. Resize and position them carefully. Use Text Wrapping > Through or In Front of Text for precise placement.
 9 per sheet.png)
6. Grouping Elements and Saving Your Trading Card Template Word
Once all elements are in place, grouping is essential for easy manipulation.
* Select All Elements: Click on one element, then hold Ctrl (or Cmd on Mac) and click on all other elements (shapes, text boxes, images).
* Group Objects: Right-click on any selected element and choose Group > Group. Now, all parts of your card act as a single object. This allows you to move, resize, or copy the entire card easily.
* Save as a Template: To reuse your design, save the document as a Word Template (.dotx): File > Save As > Browse, then choose Word Template (*.dotx) from the Save as type dropdown. Give it a descriptive name like "Trading Card Template Word V1". This way, when you open the template, it creates a new document, leaving your original template untouched.
Customizing Your Trading Card Template Word
A basic template is a great start, but true personalization comes from customization. Microsoft Word offers a wealth of options to make your cards truly unique.
Theme and Color Palettes
- Consistent Design: Choose a consistent color scheme that reflects your card's theme. Use the
Designtab in Word to explore different themes and color palettes, which can apply a unified look to your document. - Shape Fills: Experiment with solid colors, gradients, and even picture fills for backgrounds and borders of your card elements.
- Text Colors: Ensure text colors contrast well with their backgrounds for readability.
Font Selection for Impact
- Readability is Key: While decorative fonts are appealing, prioritize readability, especially for game text or stats.
- Font Hierarchy: Use different fonts or font weights (bold, regular) to differentiate between the card title, ability text, and flavor text. A strong title font, a clear body text font, and perhaps a unique font for stats can create visual interest.
- Font Library: Word supports a vast array of fonts. You can also download and install new fonts from external sources to expand your options.
Incorporating Imagery Effectively
- High-Resolution Images: Always use high-resolution images to avoid pixelation, especially if your cards will be printed.
- Image Editing in Word: Word has basic image editing tools (
Picture Formattab) for cropping, resizing, rotating, and adjusting brightness/contrast. You can also apply artistic effects, though subtle use is often best. - Transparent Backgrounds: For logos or icons, use PNG images with transparent backgrounds for seamless integration into your design.
Advanced Techniques and Tips for Your Trading Card Template Word
Beyond the basics, a few advanced techniques and tips can elevate your Trading Card Template Word designs to a more professional level.
Layering and Order of Objects
Word uses a layering system, similar to graphic design software.
* Bring Forward/Send Backward: Right-click on any object (Shape Format > Bring Forward or Send Backward) to adjust its position in the layer stack. For example, text boxes should generally be on top of background shapes and images.
* Selection Pane: For complex designs with many overlapping elements, the Home > Editing > Select > Selection Pane allows you to see all objects and their layers, and hide/show them for easier editing.
Saving as PDF for Printing
When your Trading Card Template Word is complete, saving it as a PDF is the best practice for printing.
* Preserves Layout: PDF ensures that your layout, fonts, and images appear exactly as you designed them, regardless of the printer or computer used.
* High Quality: Choose File > Save As, then select PDF (*.pdf) from the Save as type dropdown. Under Options, ensure "Standard (publishing online and printing)" is selected for optimal print quality.
Creating Bleed and Trim Marks (for Professional Printing)
If you're sending your cards to a professional printer, you'll need to account for "bleed" (extra image area extending beyond the card edge to prevent white lines after cutting) and "trim marks" (lines indicating where to cut).
* Bleed: Design your card slightly larger than its final size (e.g., 2.75 x 3.75 inches for a 2.5 x 3.5 card), ensuring your background images extend all the way to this new edge.
* Trim Marks: Word doesn't automatically generate professional trim marks like dedicated design software. You might need to add very thin lines as shapes to indicate the trim area or use a PDF editor to add them after saving from Word. For most home printing, this level of precision isn't necessary, but it's good to be aware of for commercial printing.
Duplicating and Arranging Multiple Cards
If you've grouped your entire card design, you can easily duplicate it.
* Copy and Paste: Select the grouped card, copy it (Ctrl+C), and paste it (Ctrl+V).
* Arrange on Page: On a larger page size (e.g., Letter), you can arrange multiple copies of your card. Use Shape Format > Align tools to ensure even spacing and alignment for a print-ready sheet. Leave enough space between cards for cutting.
Common Challenges and Troubleshooting
Working with a Trading Card Template Word can present some unique challenges. Here's how to address common issues:
Image Distortion and Pixelation
- Source Quality: Always start with high-resolution images. Resizing a low-resolution image up will always result in pixelation.
- Aspect Ratio: When resizing images, hold down the
Shiftkey while dragging a corner to maintain its aspect ratio and prevent distortion. - Text Wrapping: If images move unexpectedly, check their
Text Wrappingsetting (Picture Format > Wrap Text). Often,In Front of TextorBehind Textoffers the most predictable behavior when freely positioning elements.
Text Boxes Moving or Reformatting
- Anchor Points: Text boxes are often "anchored" to a specific paragraph. If you delete that paragraph, the text box might move. Try setting the text box's
Layout OptionstoFix position on pageto prevent unwanted movement. - Grouping: Ensure all parts of your card, especially text boxes, are grouped together once finalized. This prevents individual elements from shifting.
- AutoFit: Turn off
AutoFitoptions for text boxes (Format Shape > Text Box > Do not Autofit) to prevent text from automatically resizing or boxes from changing size.
Printing Issues
- "Cut Off" Edges: This usually means your design goes too close to the printer's unprintable margin. Reduce your design size slightly or ensure your card's content stays within the "safe zone."
- Color Differences: Colors on screen may appear different when printed. This is common due to RGB (screen) vs. CMYK (print) color models. For critical color accuracy, professional calibration and printing are needed, but for hobby use, minor differences are usually acceptable.
Conclusion
The journey of creating custom trading cards doesn't have to be a complex or expensive endeavor. By leveraging the familiar and powerful features of Microsoft Word, you can design, customize, and print stunning collectibles with relative ease. A well-constructed Trading Card Template Word democratizes the design process, allowing hobbyists, game developers, and artists to bring their visions to life without needing specialized software or extensive graphic design training.
We've covered everything from setting up your document and designing the basic structure to incorporating rich media, refining text, and applying advanced techniques like grouping and PDF saving. While Word may not replace professional design suites for high-volume commercial production, its accessibility and feature set make it an excellent choice for personal projects, prototyping, and small-batch custom card creation.
With the insights and steps provided, you are now equipped to embark on your own trading card design adventure. Remember to experiment with different layouts, fonts, and colors, and don't be afraid to iterate on your designs. The most compelling trading cards often come from a blend of creativity and thoughtful execution. So, open Word, unleash your imagination, and start crafting your unique collection today.
0 Response to "Trading Card Template Word"
Posting Komentar